So as I called out in my last blog that the 30m QCX test was a success. In 25 minutes I had 10QSO before my battery died. You may recall me commenting that during the hike out, I was wondering if I could somehow reduce the weight and some of the additional hardware by using just the inductor and capacitor and direct wiring into the PCB on the QCX. QRPGuys makes a mini version of their single band half wave EHFW: Enter the QRP Guys Mini NOTune Half wave EFHW. Finally having a night I can work on it I set out to get as much as the matchbox part of the build done. First up, time to remove the BNC adapter on the QCX:
 For the sake of giving myself some options down the road I just snipped the leads off the BNC adapter, and then carefully worked the anchor studs out.
Next up it was time to work on the plastic enclosure for the antenna and get that prepped. I actually like that the matchbox they supply with the kit is not pre-drilled. This gives you some options, or more over, does not mean you have holes to plug if your intentions end up similar to mine.. I did not drill the big hole for the BNC connector obviously.
The instructions are pretty straight forward on this and I had the solder work done within an hour. One thing I’ll call out now is that the QRPGuys mini is the same height as the QCX enclosure, so it wont look too awkward.
Midpoint check-in: 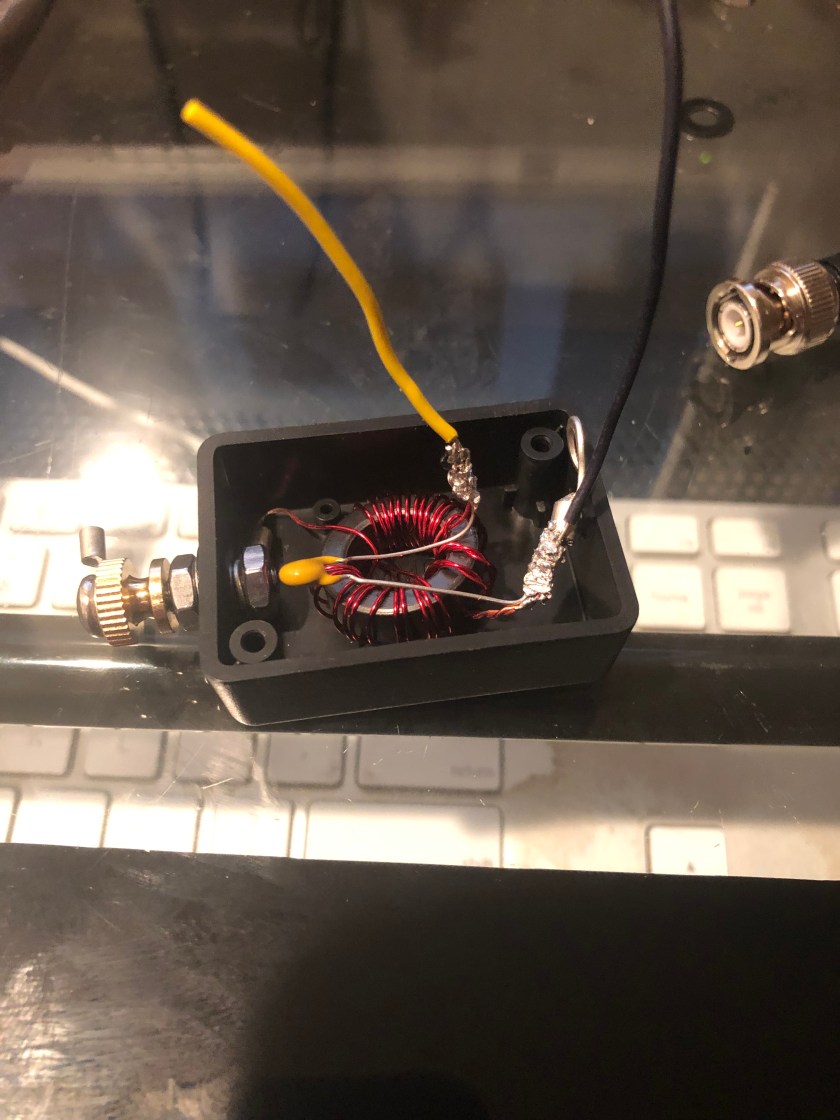
Thinking that I was not going to be using the BNC adapter hole I thought put the main antenna out one side, and the counterpoise on the other. That later ended up being a mistake because the screw stub was now covering the 3.5mm jack for the key. Whoops, one more hole I now have to fill. Maybe this is why I should not work late ;).


After jamming some John Denver most of the night, I got to the point that my next step was drilling into the enclosure and given it was past 11pm I opted to wait till morning, and took advantage of a mid morning break between meetings.
<The Next Day> 😀 Marked the holes on the enclosure, pre-drilled with a bit that was about the same size as the supplied self tapping screws, then hit the enclosure with a step bit to go just a touch wider.

Sweet, the mounting holes were lined up perfect, and the wires come thru with plenty of length. After this I put some electricians tape around the inside of the opening to keep wire/metal from touching the enclosure. I unfortunately did not have any clear silicon caulk, and was too lazy to head to the hardware store, so I opted to use some white latex/tile caulk that I had around. It is just a temporary thing, but the goal was to have some sort of seal between the enclosures. Oh and to also seal up that extra hole I put into the antenna matchbox. It’s ugly and you will see that down below., but for now it will get the job done.
At this point I went ahead and re-added the QCX into the enclosure, secured it on two of the mounts for testing, and then soldered the new connections to my antenna nubs. I then plugged in the battery to make sure it still powered up, and was still getting the same power out, and voltage in readings it was before. No smoke and the numbers looked good :D. Might as well go ahead and see if this setup actually works, so borrowing the radiator off the PCB version of this antenna I ran out to the meadow behind the house where I do my testing from. W00T: Success: After a couple of run thrus of the pre-recorded test cq message I setup a while back I was picked up by VE6WZ which is about 900 miles away on the RBN. Not bad given this QCX with its current setup/battery puts out 1.85W of power. For those that do not know, apparently the build specs on the 30m QCX are a little off for inductors L1 and L3, most folks who have offered feedback suggest changing those inductors to 16 turns and not the 19 it calls for in the instructions. I have not yet done L1 but I did do L3 which did boost power a little. Inductor L1 is in a weird spot, and I am not sure I want to deal w/ the headache of re-attaching it once I get one side off. Besides from a summit, 2W is plenty of power, and given the RBN did pick me up from the Tahoe Basin I call it a success as is.

Yes that white caulk is ugly, I’m thinking I’ll scrape that off and redo with a clear silicon. I also ordered some new 22awg wire for the new radiator in a different color. The yellow one is a little bit short, but I know that radiator on the PCB version of this antenna is resonant at 10.118 and I will still use that antenna with my KX2.
So now that everything is back together, I took and weighed the entire kit as I will carry it to a summit. It is coming in at a whopping 1lb 2.2 oz. The kit contains: palm pico paddle, small ear buds, 1400mah battery, MSR mini-hog tent stake to secure the far end and of course that QCX. A pretty simple rig for those days where I want to go far with minimal weight, and get there quickly. Next modification maybe to go with a touch sensitive keyer. Find a way to build a battery into the enclosure and the only *extra* stuff I’ll be carrying are the headphones.


I’ll be testing this out on a live activation this coming Saturday. Anyone want to buy a KX2? (seems like 30m and a 2m HT will get the job done for the most part, at least in the areas I like to activate from. Not sure I’m ready to sell the KX2 yet, just kidding, I do chase from home with the KX2.
Speaking of QSOs, I finally got around to designing and then ordering some new QSL cards. I intend to start shipping out QSL cards as response to ones received over the past couple of years next week. Better late then never :D. What prompted that decision was in a matter of a couple of weeks I received ~10 QSL cards because I had been making some new contacts, including some with IOTA folks. I like getting them, only fair I should respond in kind. I went with qslpostcards.com because a few of the QSL cards I’d received over the years had their URL somewhere on the card. The quality of the ones I’d received seemed pretty good, and they were a good price. (250 cards for $69.00). I like supporting small businesses too and these guys are HAMS. Those finally came today.
That is all for now, hope to QSO you from a summit in the future!
72 de N6JFD.
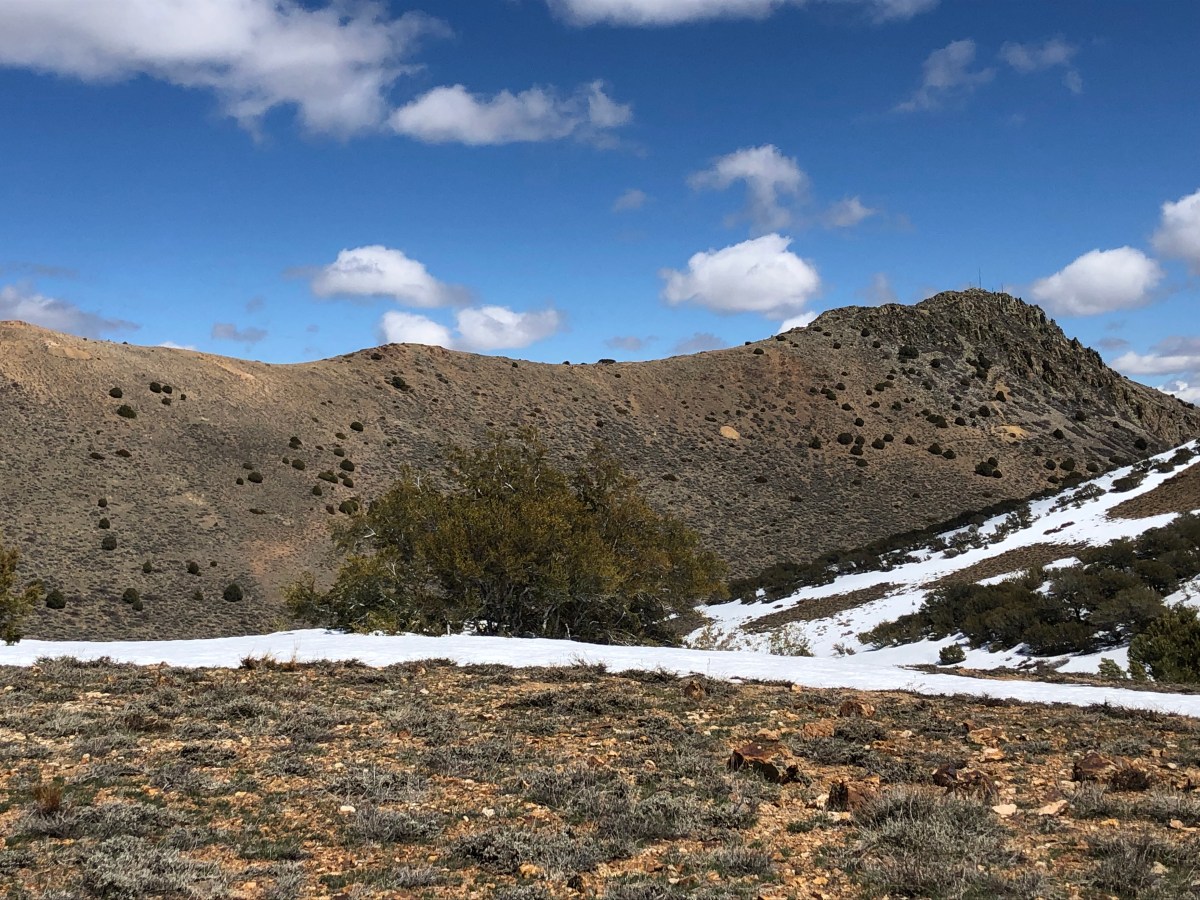
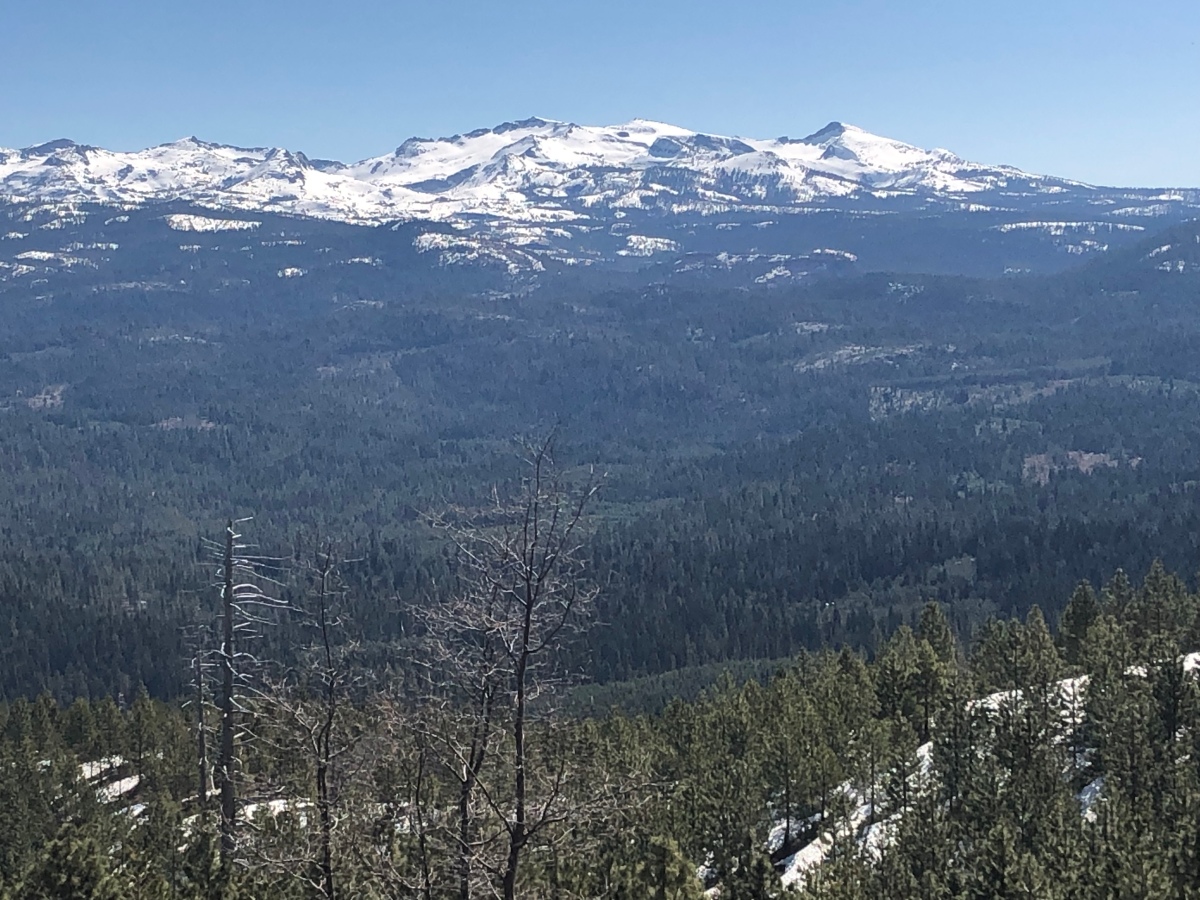
 I have chased a few folks with the QCX from the QTH, but now it was finally time to use the QCX as my activation rig. It was on Easter Sunday and on a day that 30m propagation was not great and I was not on summit till noon. SotaWatch showed that I was the first spot in over two hours. I managed seven QSO over 25 minutes and then my battery decided it was time to shut off for recharge (oops..been testing a lot, forgot to check levels). Either way it was a successful activation on a unique summit. Full disclosure it was also the first time I have done an activation without using the decoder, and I managed to get a good copy on all those who called me whom I could hear, so I am getting better there too. Contacts included: AG6VA, K0RS, KR7RK, W7USA, WA9STI, W7GA and K7RJ. According to RBN I was reaching the VE6WZ beacon up in Calgary, approximately 700 miles. Last time I checked, I was putting out 2watts of power, but that was before I really tuned my EFHW. On the approach drive in *4×4 road* I managed to make it to within a mile of the summit, but overall this is a drive up summit. Either way, b/c I am in run training, the 1 mile 400 foot elevation just helps with the training, and I do my best thinking when I’m walking (more on that below). Those structures you see on the summit proper are from past deployments I think, all the radio towers, cell towers, and TV towers have been moved to other nearby peaks, overall (at least on 30m) this was an RF quiet peak.